2017-08-30
My first contribution to the open source community. Hurrah!
My website is running on Hugo’s humongous efforts and I thought I’d do my little part by contributing to this community (like the little chipmunk in the Ramayana).
Hugo-Travelify-Theme is the Hugo version of the Wordpress theme, Travelify (Check out the Wordpress version of this theme at http://funderfulworld.com). The source code was adapted from digitalcraftsman’s Icarus theme with a few changes for additional features (Even this README is a fork from his original README :)).

My first contribution to the open source community symbolically represented by the chipmunk. The small dude was rewarded with three stripes for contributing a small stone to help in Rama’s big quest (Image source - http://www.bhagavatam-katha.com/wp-content/uploads/2015/02/ramaand-squerel-527x675.jpg)
Here are some of the prime features of the theme! Try them out!
The homepage of this Travelify theme is at https://themes.gohugo.io/hugo-travelify-theme/.
Some of the important features of Hugo-Travelify-Theme are:
Automatic slider generation with banner images
l10n data (for translation purposes)
Disqus integration
Social media sharing options
Google Analytics
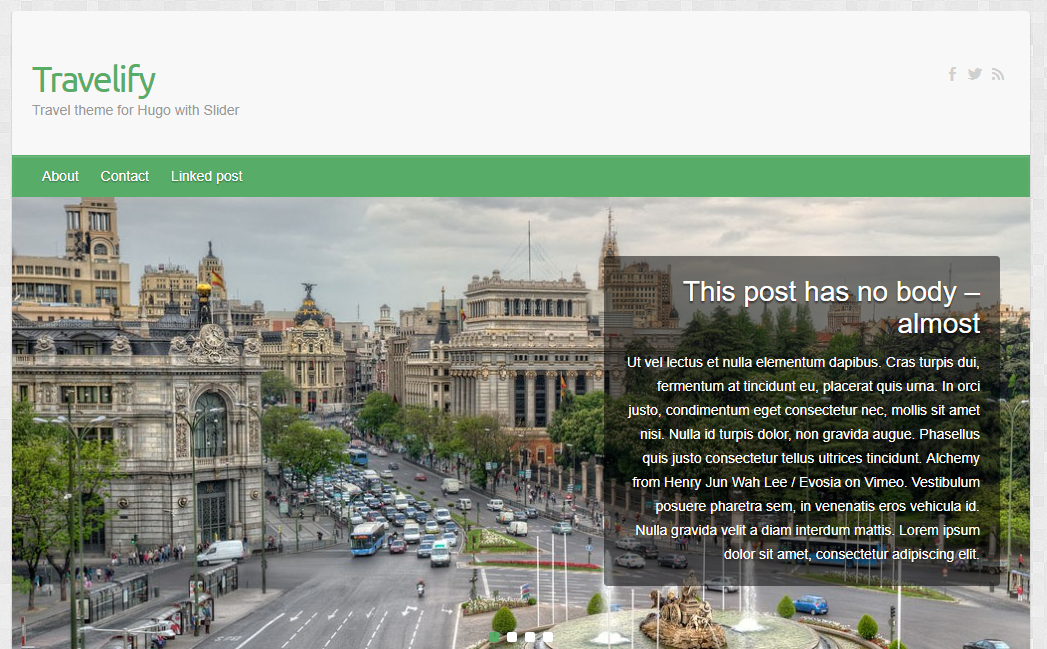
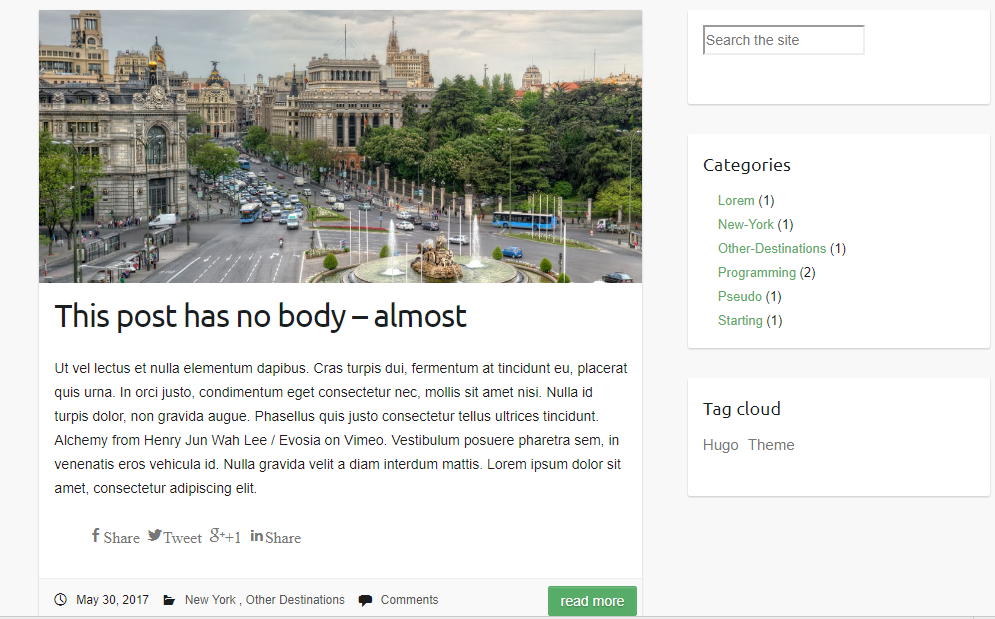
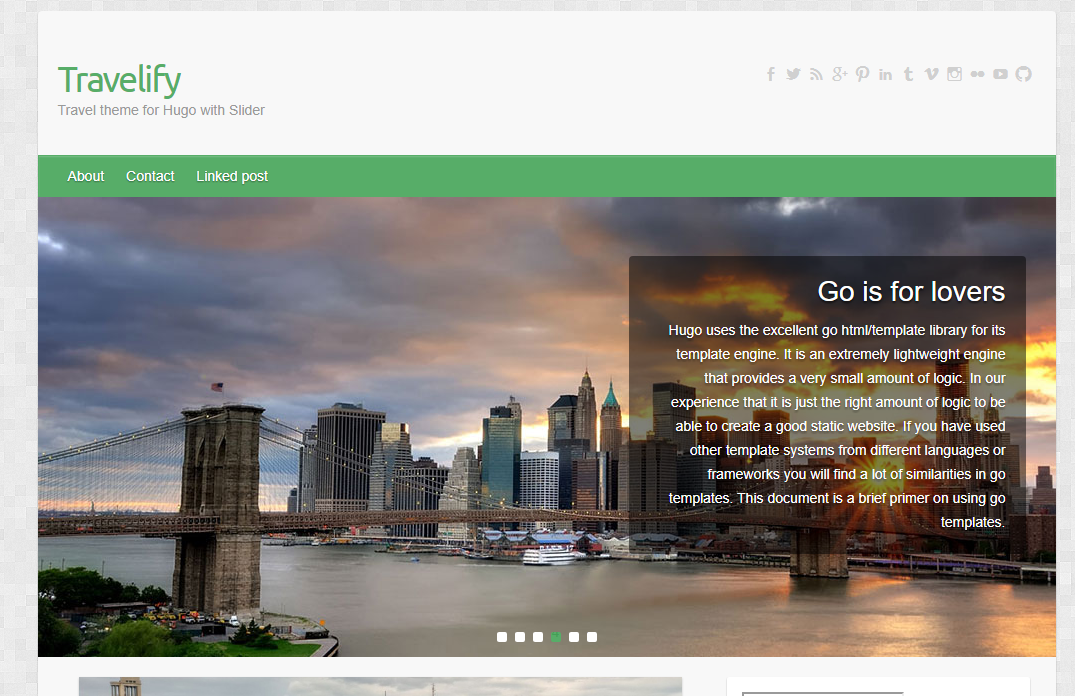
Here are some screenshots of the theme:
Get the theme
If you have git installed, you can do the following at the command-line-interface within the Hugo directory:
$ cd themes
$ git clone https://github.com/balaramadurai/hugo-travelify-theme.git
You should see a folder called hugo-travelify-theme inside the themes directory that we created a few moments ago. For more information read the official setup guide of Hugo.
Setup
In the next step navigate to the exampleSite folder at themes/hugo-travelify-theme/exampleSite/. Its structure should look similar to this:
exampleSite
|   config.toml
+---content
|   |   about.md
|   |   contact.md
|   \---post
|           creating-a-new-theme.md
|           go-is-for-lovers.md
|           hugo-is-for-lovers.md
|           linked-post.md
|           migrate-from-jekyll.md
|           this-post-has-no-body.md
+---data
|       l10n.toml
\---static
    |   new-york-featured.jpg
    \---banners
            7148951717_9bbf185db3_h-1018x460.jpg
            featured-4.jpg
            featured-5.jpg
            new-york-featured.jpg
            placeholder.png
            Spain-Plaza-de-Cibeles-Madrid-1018x460.jpg
            Spain-Plaza-de-Cibeles-Madrid-670x300.jpg
            spain6-1018x460.jpg
To get your site running, copy config.toml and data/l10n.toml into the root folder. (Please refer to http://gohugo.io/overview/quickstart/ for installing a Hugo theme.)
The config file
Now, let us take a look at config.toml. Let’s take a look at some of the settings.
1. Automatic slider
Using the parameters in the config, the slider can be switched on and off at will and the number of banner images on the carousel can be customized.
[params.slider]
enable = true
num_features = 4 # The slider picks up the banner images from the N most recent posts, where num_features is N.
Tip - For best results in the slider, use 1018x460 resolution for the banner images.
2. Google Analytics
GoogleAnalytics = ""
3. Comments
The comment system is an optional feature powered by Disqus. Enter your shortname to enable the comments section under your posts.
disqusShortname = ""
Tip - You can disable the comments section for a single page in its frontmatter:
+++
disable_comments = true
+++
4. Menu
The entries in the items menu can be customized. First, let us link a post that you’ve written. We can do this in the frontmatter of the post’s content file by setting menu to main.
+++
menu = "main"
+++
Further, we can add entries that don’t link to posts. Back in the config.toml you’ll find a section for the menus:
[[menu.main]]
    name  = "Contact"
    url   = "/contact/"
    weight = 20
Define a label and enter the URL of the resource you want to link. With before you can decide whether the link should appear before or after all linked posts in the menu. Therefore, Home appears before the linked post.
5. Sidebars
To use the full width of the website you can disable the profile on the left and / or the widgets on the right for a single page in the frontmatter:
+++
disable_profile = true
disable_widgets = true
+++
6. Tell me who you are
This theme also provides a profile section. Add your social network accounts to the profile section by entering your user name under social. The links to your accounts will be created automatically.
7. Widgets
You can add widgets to the right sidebar. The following widgets are available:
- recent articles
- category list
- tag list
- tag cloud
- Duckduckgo search enabled on your website
You can deactivate them under params.widgets:
# Enable and disable widgets for the right sidebar
[params.widgets]
    recent_articles = true
    categories = true
    tags = true
    tag_cloud = true
    archives = false # This feature is yet to be implemented because of limitations in Hugo's way of working.
    search = true
8. Date line
The date line includes: post date, categories, comments and sharing links. However, if you want certain pages to omit the date line, simply put nodateline = true in the front matter for that page.
9. Disable previous/next article links and remove tags
To disable the inclusion of a previous/next article link at the bottom of the page, add noprevnext = true to frontmatter. This feature, along with nodateline = true, can be used to create standalone pages that are less “blog-like”.
10. Translation (l10n)
You don’t blog in English and you want to translate the theme into your own language? No problem. Inside the exampleSite/data folder you’ll find a file l10n.toml. It contains all the strings related to the theme. Just replace the original strings with your own.
11. Linking thumbnails
After creating a new post you can define a banner by entering the relative path to the image.
banner = "banners/placeholder.png"
This way you can store the images either in the same folder as your post or in the static folder.
Tip - For best results in the slider, use 1018x460 resolution for the banner images.
Nearly finished
To preview your site, run Hugo’s built-in local server.
$ hugo server
Now enter localhost:1313 in the address bar of your browser.
Contributing to the theme
Found a bug or have an idea for a new feature? Feel free to use the issue tracker to let me know. Or make a pull request.
License
This theme is released under the MIT license. For more information read the license.
Acknowledgements
Thanks to
- Aigars Silkalns for creating this theme
- Steve Francia for creating Hugo and the awesome community around the project
- digitalcraftsman for creating the source code for Icarus theme
- Anita Nagarajan for editing this post/README
About the Author
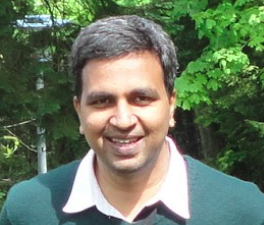
Dr. Bala Ramadurai
Author, Prof & Consultant
Dr. Bala Ramadurai is an author, professor and consultant. He has authored a book on Design Thinking called Karmic Design Thinking. He has 3 patents to his credit and 10+ publications in international research journals. He co-founded TRIZ Innovation India and is an Adjunct Professor at Symbiosis Institute of Business Management, India. He is a professor at National Programme on Technology Enhanced Learning. About me